

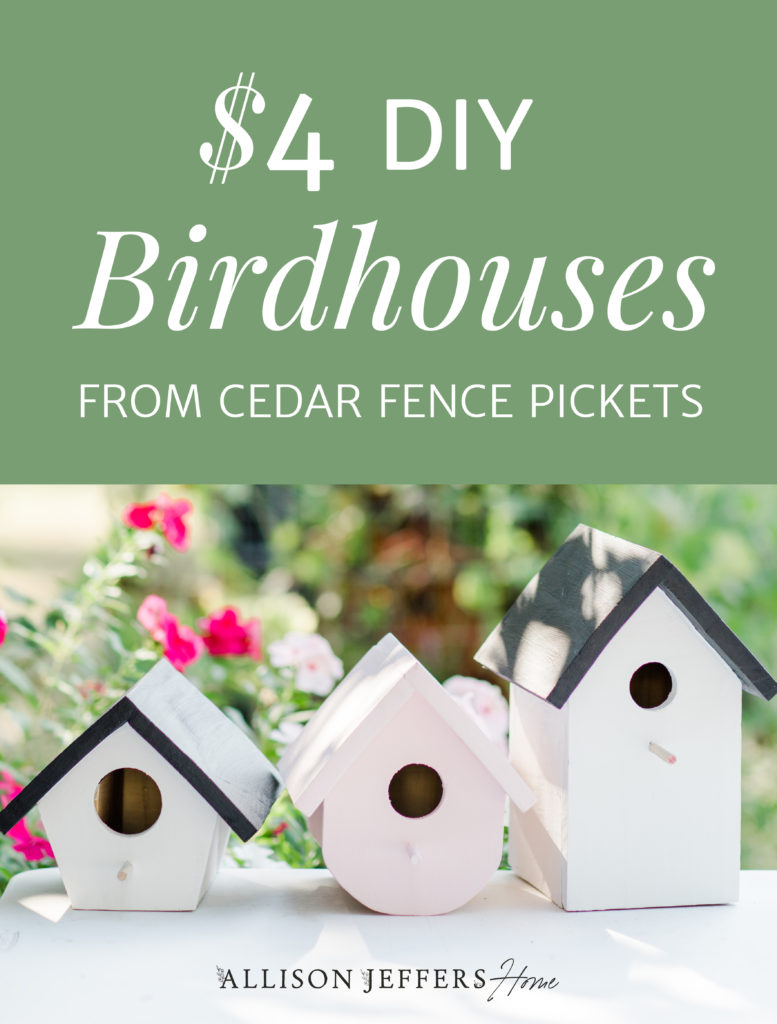
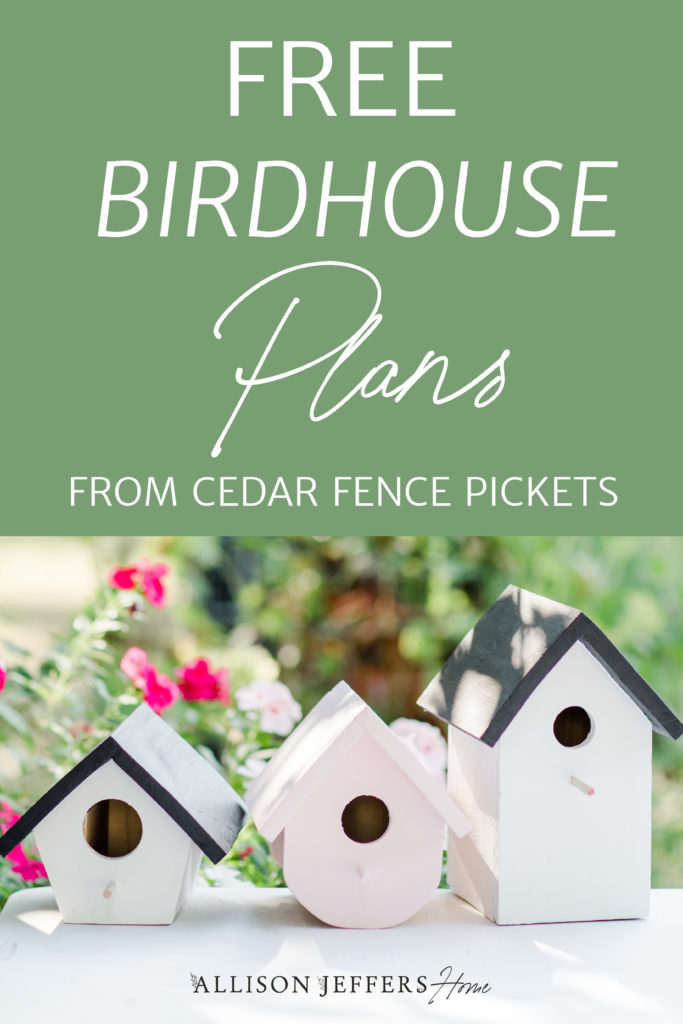
Free Birdhouse Plans | Build a birdhouse for $4 with Cedar Fence pickets
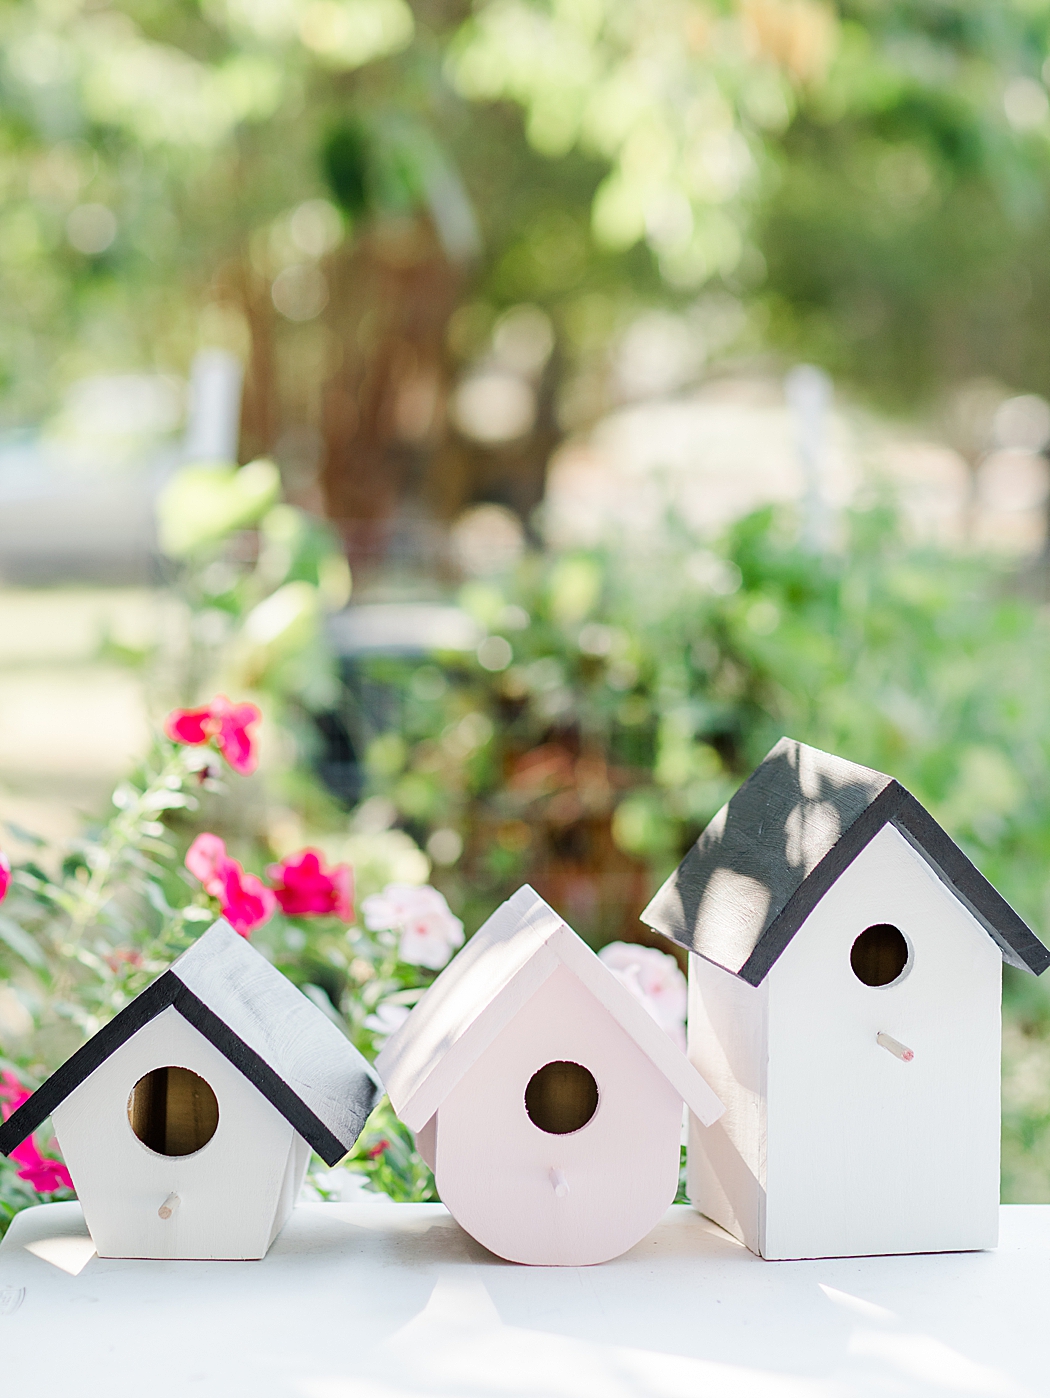
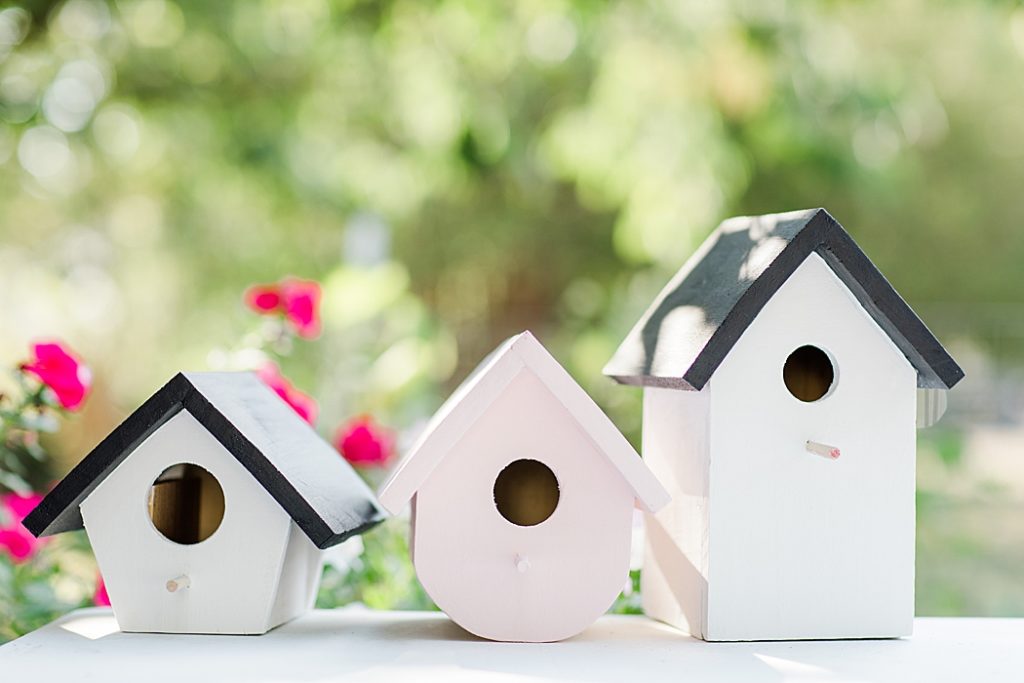
We had to fix our privacy fence a few years ago and had leftover pickets just hanging out in our garage. I’ve been grappling with the idea of creating birdhouses out of those leftover pickets for a while now. Quarantine has reminded me that I’m a crafty queen, so I finally did it! But in true Allison fashion, I couldn’t just do ONE birdhouse out of a cedar fencepost. I did three 😂. And I couldn’t just follow someone else’s birdhouse plans–so I made my own! Three different ways!
I wanted to make sure that the little birdies would be happy with their home so I researched what each type of bird liked in their humble abode. I found this chart that I used to create these three birdhouses(see below). We have House Finch(es?), sparrows, and woodpeckers where I live, so I made homes for them.
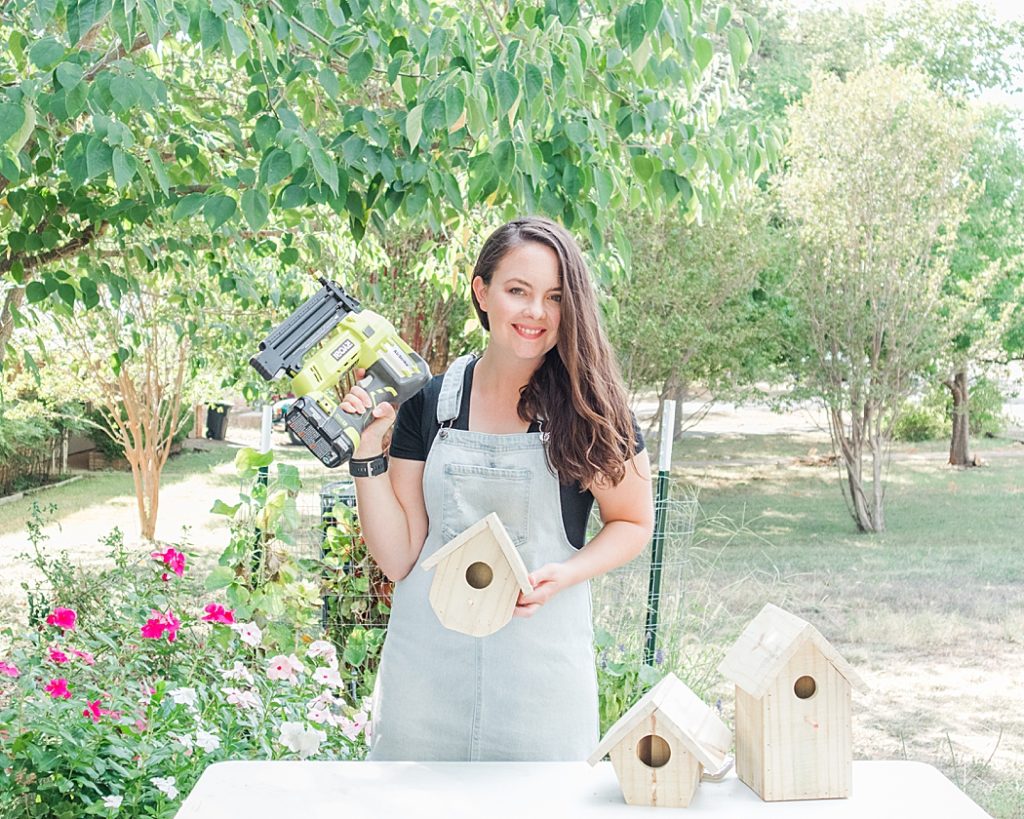
Also, in true “Allison” fashion, I bought a nail gun (I’m obsessed!) and spent entirely more than $4 on this project 😂. But I’ve been wanting a nail gun for quite some time now, so it was TIME! I am also having a great time nailing everything, even if it doesn’t need to be nailed. 😂
PS If you’re wanting to create a birdhouse for a bluebird you can follow the same plans used for the pink birdhouse and change the hole to 1.5″ diameter (the pink house has a 1.75″ diameter hole).
*Please note this post may contain affiliate links. It costs you nothing extra to shop through my links, but does help my little farm family of 10 and funds this free content! Thank-you and enjoy!
Lets get to it!
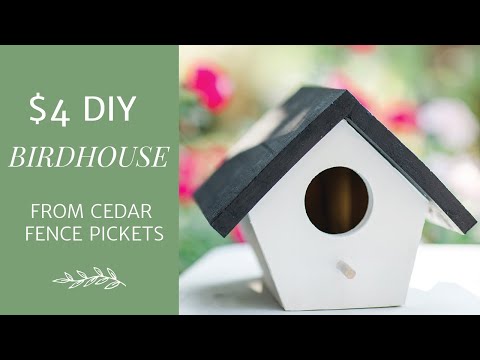
Want to see these made in-action? I made these short Youtube videos just for you!
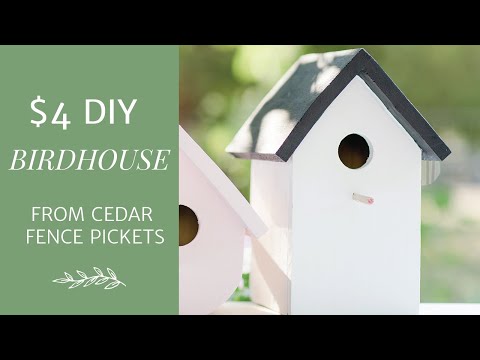
B&W Finch Birdhouse
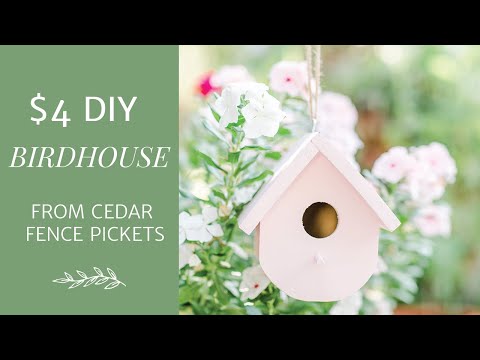
Pink Sparrow Birdhouse
B&W Woodpecker Birdhouse
Tools needed:
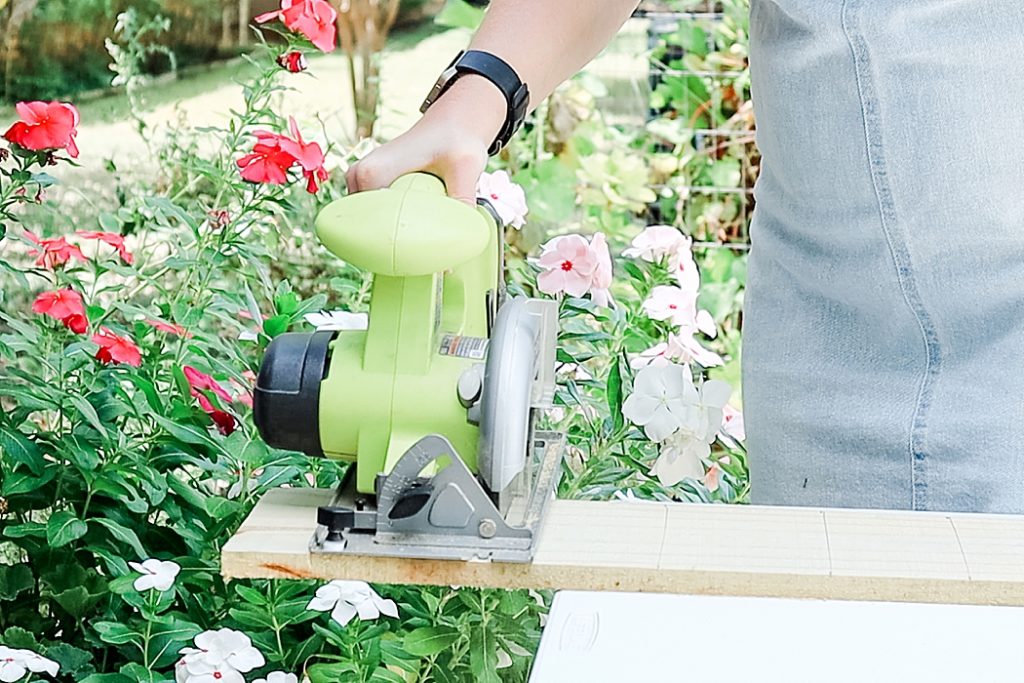
Circular Saw or Miter Saw (I used a circular saw just fine)
Sander
Drill
Hole saw drill bits (I used 1.5″, 1.75″, and 2″ from this set–much cheaper than buying them individually!)
Finishing nail gun (optional–I use this one)
Jig Saw (for rounded front on pink birdhouse)
Materials needed:
1 cedar fence picket (per birdhouse)–You can also use a treated picket if it’s dried out.
5/16” dowel (1 dowel is PLENTY!)
Wood glue (I use this one)
18 gauge nails + hammer (if not using nail gun)
plastic wood (optional–I use this one)
Screw Eye #210 (optional for hanging)
Jute or other material for hanging (optional)
Birdhouse Chart:
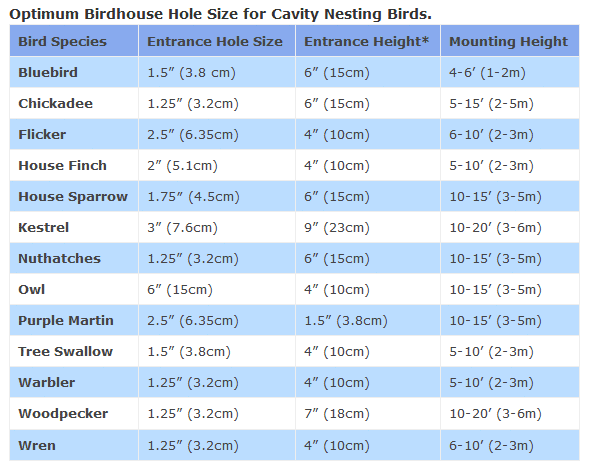
from suncatcherstudio.com
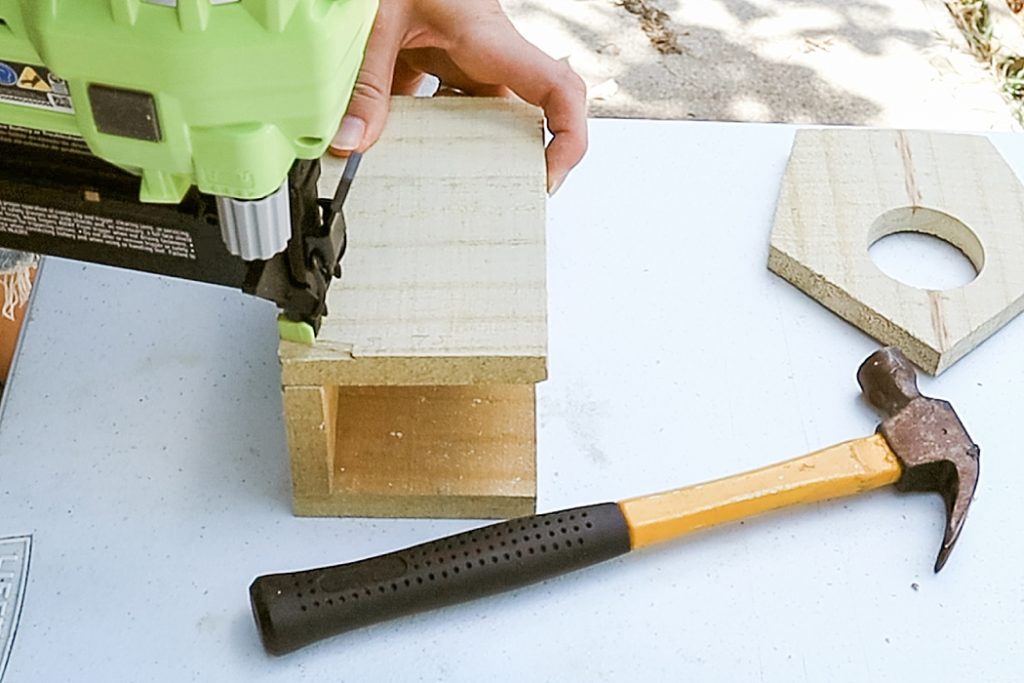
Step 1:
Cut your pieces for your birdhouse according to our FREE plans + building guide.
Step 2:
Attach bottom to sides with nail gun or finishing nails
Step 3:
drill hole in the front piece according to the diagrams given in our cutting/ building guide

Step 4:
Attach front and back of birdhouse to base
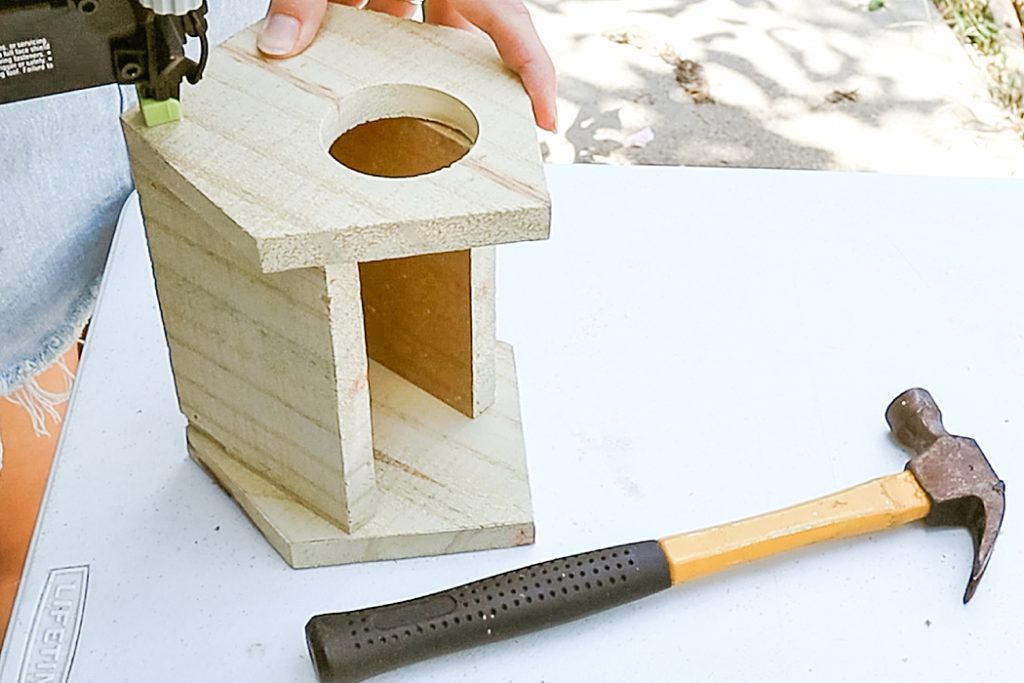
Step 5:
Attach the roof (don’t worry if it’s not perfect!)

Step 6:
Drill hole for dowel with a 5/16″ bit
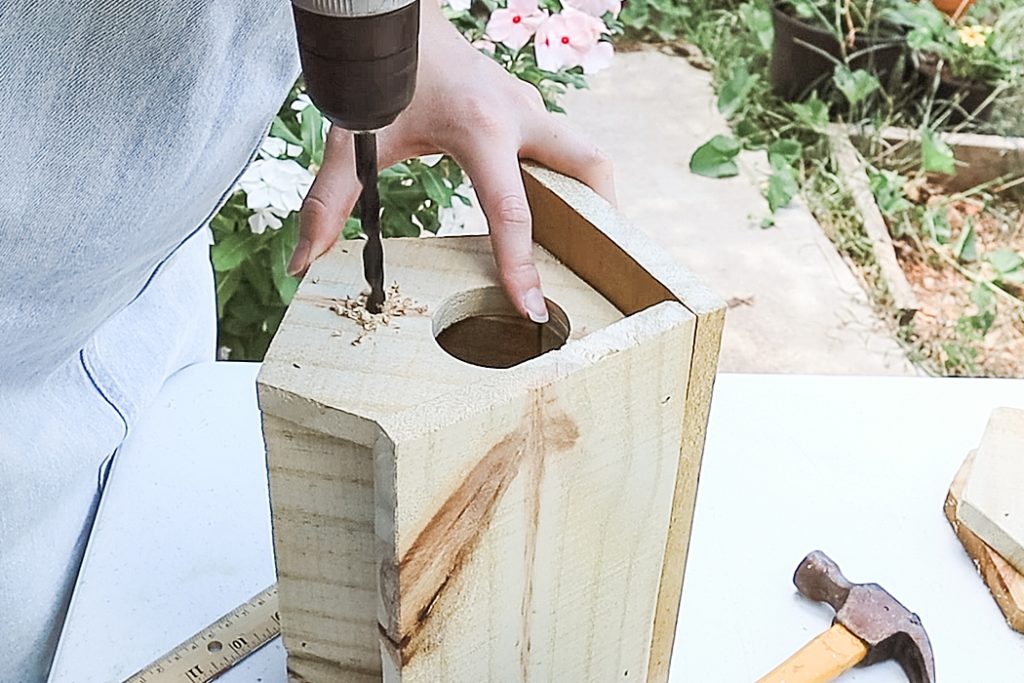
Step 7:
Cut dowel rod to 2,” glue, and insert into hole.
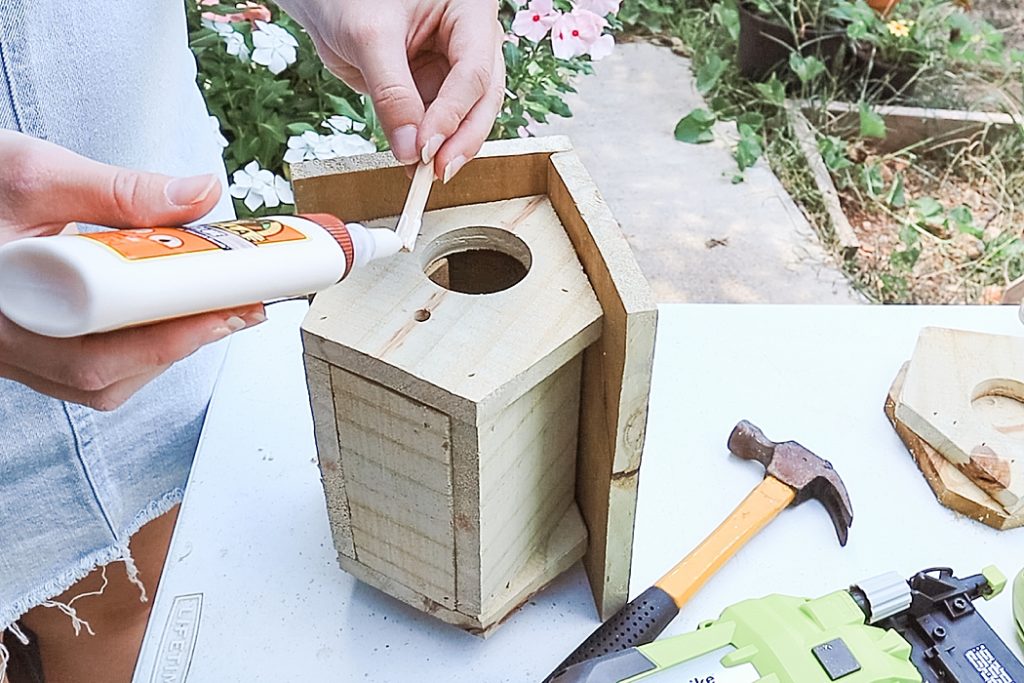
Step 8 (Optional):
fill in brad holes and cracks with plastic wood.

Step 9 (Optional):
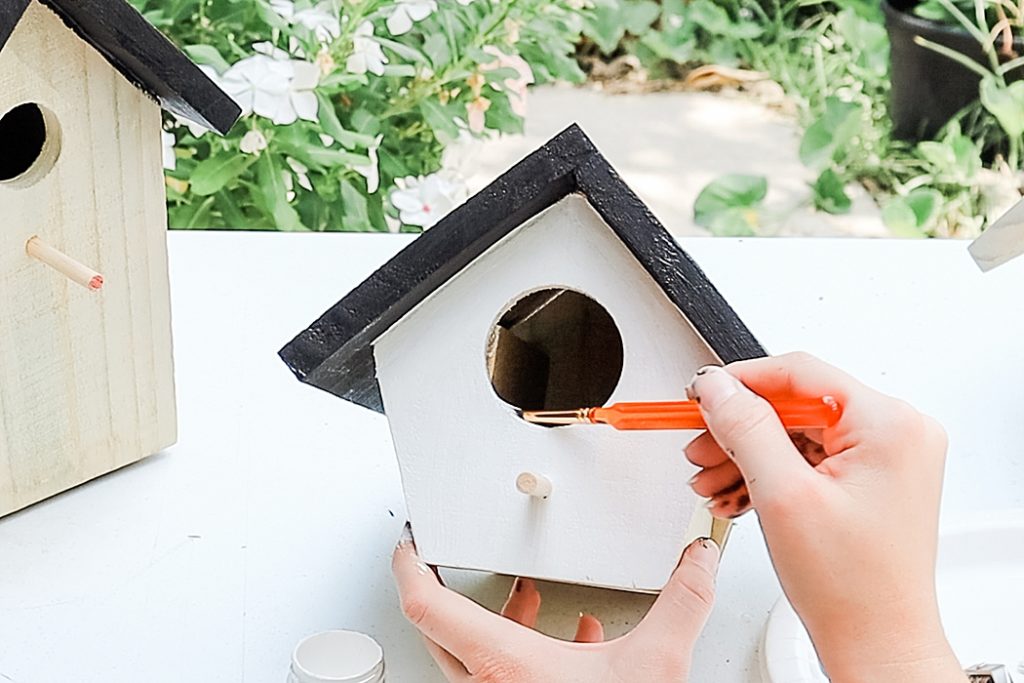
Paint! Goggins Creations sent me some of their Fusion Mineral Paint to try out. They’re nontoxic, zero VOC, have a built-in topcoat, high coverage, and are waterproof! If you know me IRL you know I like to keep the chemicals around me as natural and clean as possible, so this was a win-win for me!
Step 10 (Also Optional):
Hang it! I decided I would hang my pink birdhouse and mount the other two. So I found the center of the roof (4.5″) and predrilled a TINY hole. Then I screwed in an eye hook and used jute as my hanging loop. 
Tadaaa, you’re ready to build your own! I’d love to see your creations! Tag me on instagram @allisonjeffershome!
![]()

You must log in to post a comment.


A happy heart is good medicine

So cute can’t wait to try these with our girls!!